From Zero to One: Building a Chatterbox-TTS API Service
Recently, I've been exploring the Chatterbox-TTS project. It not only delivers excellent results but also supports voice cloning, opening up imaginative possibilities for personalized voice synthesis. The only downside is that it primarily supports English.
To make it easier to use in various projects, I decided to encapsulate it into a stable, efficient, and easily integrated API service. This article details the entire process of building this service from scratch—from the initial technology selection and API design to overcoming challenges and ultimately creating a robust system that can be used by multiple people.
What kind of TTS service do I want?
Before writing the first line of code, a clear goal is essential. I wanted this service to be more than just a runnable script; I aimed for a project with "near-production" quality. My core requirements were as follows:
- Powerful Features:
- Basic TTS: Provide standard text-to-speech functionality.
- Voice Cloning: Support uploading reference audio to generate speech with the same timbre.
- User-Friendly Interface:
- Compatibility: Offer an interface fully compatible with the OpenAI TTS API, allowing seamless migration for any application that supports the OpenAI SDK.
- Dedicated Interface: Provide a more comprehensive dedicated interface for voice cloning.
- Easy to Use:
- Web UI: An intuitive front-end interface that allows non-developers to quickly get started and experience the service.
- One-Click Deployment: Especially for Windows users, provide an out-of-the-box solution.
- Stable and Efficient:
- Decent Server Performance: Use
waitressinstead of Flask's built-in development server to support multithreaded concurrency. - Robustness: Must handle environment dependencies (like
ffmpeg), file I/O, and cross-platform compatibility issues effectively. - Performance: Support GPU acceleration and provide easy upgrade options.
- Decent Server Performance: Use
Technology Selection and Architecture Design
Based on these goals, I determined the project's technology stack and basic architecture:
- Backend Framework: Flask. Lightweight and flexible, perfect for quickly building API services.
- WSGI Server: Waitress. A pure Python implementation of a production-grade server, cross-platform and easy to deploy.
- Core TTS Engine: Chatterbox TTS.
- Frontend: Native JS/HTML/CSS. To keep the project lightweight and dependency-free, I decided not to introduce any frontend frameworks.
- Core Dependencies:
ffmpegfor audio format conversion, andtorchandtorchaudioas the underlying support for the TTS model.
API Interface Design
POST /v1/audio/speech: OpenAI Compatible Interface. Receives JSON data, with the core field beinginput(text). To enhance compatibility, I decided to use thespeedandinstructionsparameters, which are less commonly used by OpenAI, to passcfg_weightandexaggeration.POST /v2/audio/speech_with_prompt: Voice Cloning Interface. Receivesmultipart/form-data, including fields such asinput(text) andaudio_prompt(reference audio file).
Core Implementation and Troubleshooting
The construction process was not without its challenges. Below are some key issues I encountered, along with my solutions and final implementations.
1. Issue 1: File Locking PermissionError on Windows
This was the first and most challenging issue I encountered during development.
Problem Reproduction: In the voice cloning interface, I needed to receive user-uploaded audio files, save them as temporary files, and then pass them to the Chatterbox model. My initial code looked like this:
# Initial incorrect code
with tempfile.NamedTemporaryFile(suffix=".mp3") as temp_audio:
    # Received file object audio_file (werkzeug.FileStorage)
    audio_file.save(temp_audio.name) # <--- First attempt, error on Windows
    # ...
model.generate(text, audio_prompt_path=temp_audio.name) # <--- Second attempt, still errorOn Windows, this code would directly throw PermissionError: [Errno 13] Permission denied.
Cause Analysis: The root cause of this issue lies in Windows' file locking mechanism. tempfile.NamedTemporaryFile keeps the file handle open within the with statement block. And audio_file.save() or librosa.load() (called internally by model.generate) both attempt to reopen this already locked file in write or read mode, resulting in a permission error. Linux and macOS have more lenient file locking mechanisms, so this problem was not obvious on those platforms.
Solution: Abandon operating within the with block. I had to adopt a "manual management" mode for temporary files, ensuring that an operation (such as saving or reading) is completed and the file is closed before proceeding to the next operation.
Final Code:
import tempfile
import uuid
import os

# ... Inside the API route function ...
temp_upload_path = None
temp_wav_path = None
try:
    # 1. Generate a unique temporary file path (without creating the file yet)
    temp_dir = tempfile.gettempdir()
    temp_upload_path = os.path.join(temp_dir, f"{uuid.uuid4()}.mp3")

    # 2. Call .save(). This method opens, writes, and then automatically closes the file, releasing the lock.
    audio_file.save(temp_upload_path)

    # 3. Convert the uploaded file to the WAV format required by the model
    temp_wav_path = os.path.join(temp_dir, f"{uuid.uuid4()}.wav")
    convert_to_wav(temp_upload_path, temp_wav_path) # Custom conversion function

    # 4. At this point, temp_wav_path is a closed file and can be safely passed to the model
    wav_tensor = model.generate(text, audio_prompt_path=temp_wav_path)
    # ...
finally:
    # 5. Regardless of success or failure, ensure that all temporary files are cleaned up
    if temp_upload_path and os.path.exists(temp_upload_path):
        os.remove(temp_upload_path)
    if temp_wav_path and os.path.exists(temp_wav_path):
os.remove(temp_wav_path)This try...finally structure ensures the robustness of the code and the timely release of resources, making it the best practice for handling such issues.
2. Issue 2: subprocess Encoding Hell UnicodeDecodeError on Windows
While implementing the ffmpeg audio conversion function, I encountered another Windows-specific issue.
Problem Reproduction: My initial ffmpeg calling function looked like this:
# Code causing encoding errors
subprocess.run(
    command,
    check=True,
    capture_output=True,
    text=True  # <--- Root of the problem
)On a Chinese Windows system, this line of code would randomly throw UnicodeDecodeError: 'gbk' codec can't decode byte ....
Cause Analysis: text=True causes subprocess to use the system's default encoding (which is gbk on Chinese Windows) to decode the stderr output stream from ffmpeg. However, the progress bar and some log information from ffmpeg contain special bytes that are illegal in the gbk encoding, causing decoding to fail.
Solution: Directly tell subprocess what encoding we want to use. This is the most direct and elegant solution.
Final Code:
subprocess.run(
    command,
    check=True,
    capture_output=True,
    text=True,            # Keep the convenience of text=True
    encoding='utf-8',     # Explicitly specify using UTF-8 decoding
    errors='replace'      # If a decoding error is encountered, replace it with '' instead of crashing
)By adding encoding='utf-8' and errors='replace', I forced the use of the universal UTF-8 encoding and increased error tolerance. This allows the function to run stably in any language environment.
3. Issue 3: The Choice Between Binary and Text Streams
When converting the generated wav_tensor to MP3, I needed to pass the WAV byte stream to ffmpeg via a pipe and receive the MP3 byte stream output by ffmpeg.
Cause Analysis: The key here is that standard input (stdin) and standard output (stdout) are both binary data, while standard error (stderr) is text information. If text=True is mistakenly used in subprocess.run, Python will attempt to decode the binary data of the MP3, causing data corruption or program crashes.
Solution: When handling this mixed stream, do not use text=True. Let subprocess return the original bytes object, and then in the except block, we only manually decode e.stderr this byte string for debugging printing.
Final Code:
def convert_wav_to_mp3(wav_tensor, sample_rate):
    # ...
    try:
        result = subprocess.run(
            command,
            input=wav_data_bytes, # input receives byte data
            capture_output=True,  # stdout and stderr are bytes
            check=True
        )
        return io.BytesIO(result.stdout) # result.stdout is MP3 binary data
    except subprocess.CalledProcessError as e:
        # Only decode stderr when it needs to be displayed
        stderr_output = e.stderr.decode('utf-8', errors='ignore')
# ...How to Use My Service?
After some polishing, this TTS service is now very easy to use.
1. Web Interface
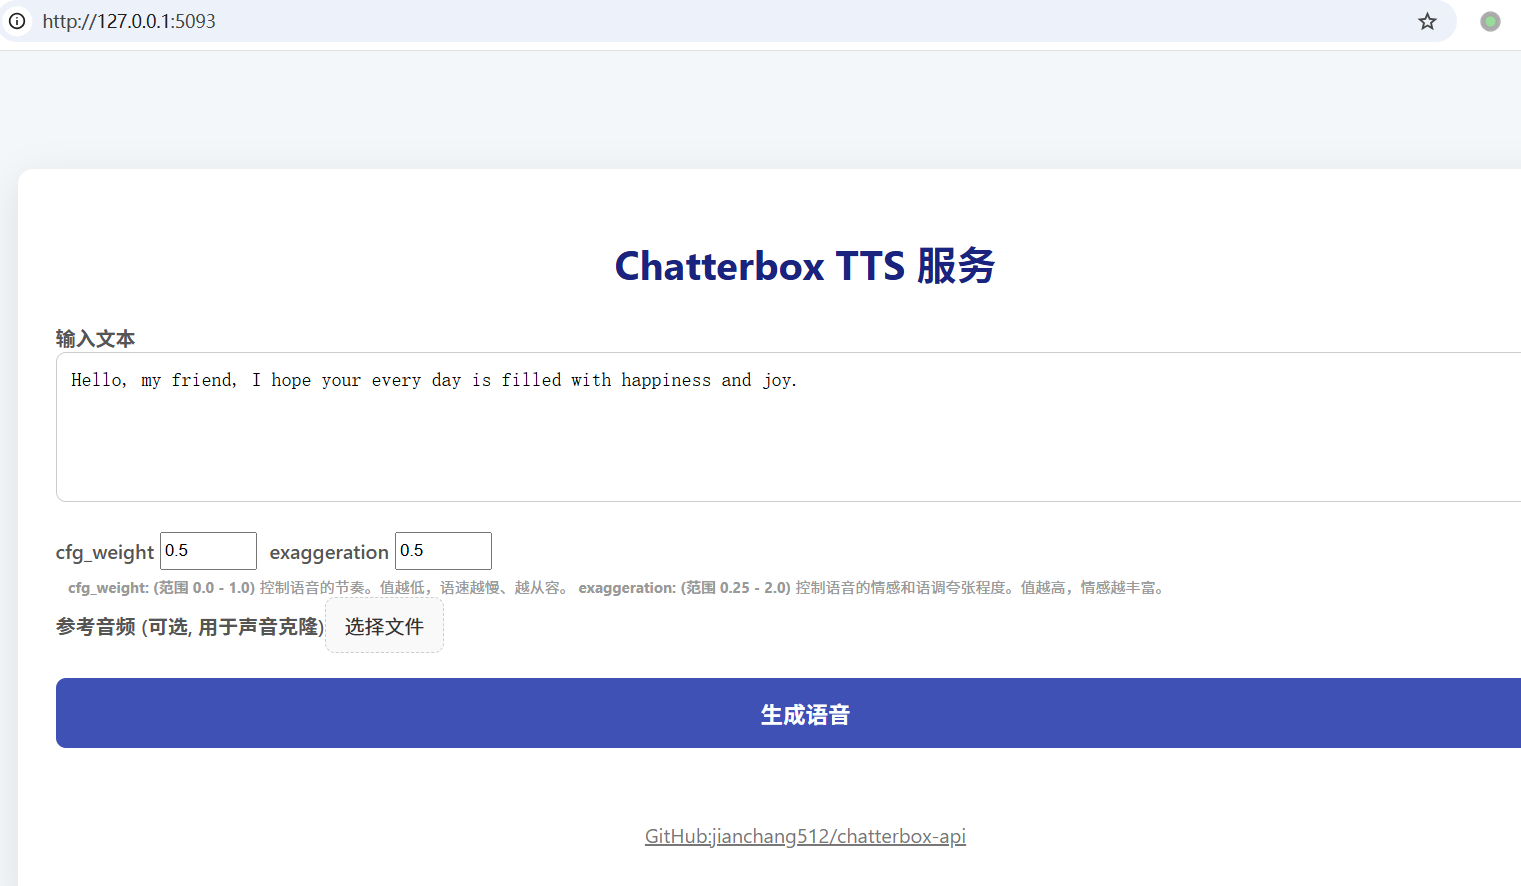
The simplest way. After starting the service, open http://127.0.0.1:5093 in your browser. Enter the text, (optionally) upload a snippet of your voice as a reference audio, click generate, and you can hear the cloned voice.
2. API Calls (for Developers)
No Reference Audio (OpenAI SDK):
pythonfrom openai import OpenAI client = OpenAI(base_url="http://127.0.0.1:5093/v1", api_key="any") response = client.audio.speech.create( model="chatterbox", input="Hello, this is a test.", response_format="mp3" ) response.stream_to_file("output.mp3")Voice Cloning with Reference Audio (requests):
pythonimport requests with open("my_voice.wav", "rb") as f: response = requests.post( "http://127.0.0.1:5093/v2/audio/speech_with_prompt", data={'input': 'This voice sounds like me!'}, files={'audio_prompt': f} ) with open("cloned_output.mp3", "wb") as f: f.write(response.content)
3. Integration with pyVideoTrans:
For video creators, this service can also be seamlessly integrated with pyVideoTrans, providing high-quality English dubbing for videos. Just enter the API address of this service in the settings of pyVideoTrans.
From a simple idea to a fully functional, well-documented, and deployment-friendly open-source project, this process was full of challenges but also brought great satisfaction. By solving a series of tricky issues such as Windows file locking and cross-platform encoding, I not only deepened my understanding of Python's underlying I/O and process management but also created a truly "usable" and "easy-to-use" tool.
Project Open Source Address: https://github.com/jianchang512/chatterbox-api