Effortlessly Manage Python Projects with uv: Installation to Execution, Step-by-Step!
Python is an amazing programming language with countless fun open-source projects, such as AI tools, video processing scripts, and more. However, for many non-programmers, the biggest obstacle to downloading and running these projects from GitHub is "dependency management" and "version management."
pip, pyenv, venv, poetry, conda... Just hearing the names is dizzying, let alone spending a lot of time trying to get them to work. The good news is that there's a new tool called uv that's simple, fast, and reliable, making it especially suitable for novice users. Today, I'll guide you through uv step by step, from installation to running a project, ensuring you can get started after reading!
I. Installing uv on Windows: Done in Two Minutes
First, we need to install uv on your Windows computer. Don't worry, no complex operations are required, just follow my lead.
- Download and Install:
- Start Menu - Find Windows PowerShell (right-click and select "Run as administrator" for added security).
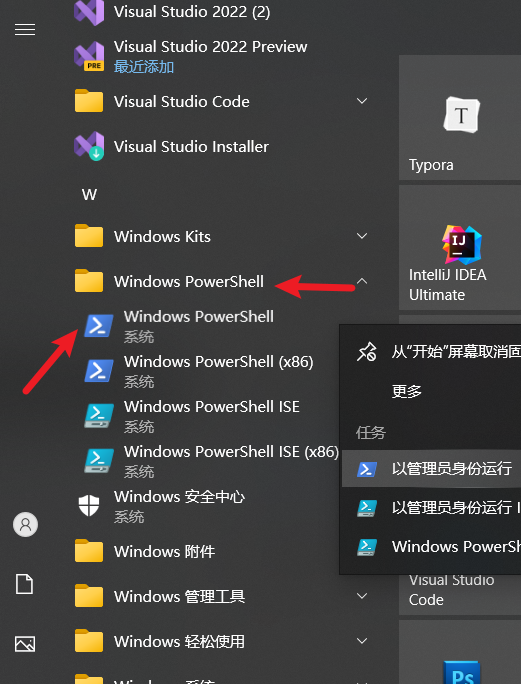
- Copy and paste this command into it, then press Enter:bash
powershell -ExecutionPolicy ByPass -c "irm https://astral.sh/uv/install.ps1 | iex" - This command will download the installation script from the uv website and run it automatically. The process takes a few seconds to a minute or two, depending on your network speed. Once completed, the command line will display a message like "uv installed successfully."
- Verify Installation: Enter
uv --version. If it displays a version number like "uv 0.x.x", congratulations, you've successfully installed it!
Once uv is installed, it will quietly reside on your computer, ready to help you get things done. Next, let's use it to create a new project.
II. Creating a New Project: Specifying Python 3.10, Filling in the Gaps
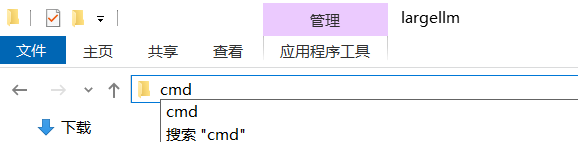
You can use either
CMDconsole orPowerShellfor subsequent commands. To open either in a specific folder, clear the original content in the folder's address bar, enterPowerShellorcmd, and press Enter.
Suppose you want to try out an AI project, but it requires Python 3.10, and you may not have that version installed on your computer. The power of uv lies in its ability to automatically download and set it up for you.
- Create a New Project Folder:
- Create a folder on your desktop or anywhere else, for example, named "myai", enter the folder, and open the cmd console.
- Create Project and Specify Python 3.10:
- Enter this command:
uv init myai --python 3.10 - uv will create a new project. If Python 3.10 is not installed on your computer, it will automatically download it from the internet (which may take a few minutes), and then generate a virtual environment in the folder (like an independent small room, serving only this project).
- Enter this command:
- Check the Results: Several files will appear in the folder, such as
pyproject.toml(the project's "instruction manual") and.python-version(remembering the Python version you are using).
Now, you have a clean project environment. Let's add something to it!
III. Adding, Removing, and Updating Third-Party Modules: As Simple as Ordering Takeout
AI projects typically require some "third-party modules" (such as data processing toolkits). uv makes this process as intuitive as ordering takeout.
- Add Modules:
- Suppose the project requires
numpy(a mathematical calculation tool), enter:uv add numpy - uv will add
numpytopyproject.tomland download and install it into the virtual environment in seconds.
- Suppose the project requires
- Remove Modules:
- If you think
numpyis not needed, enter:uv remove numpy - It will be removed from the project cleanly.
- If you think
- Update Modules:
- Want to use the latest version of
numpy? Enter:uv add numpy --upgrade - uv will check for the latest version and update it, saving you the trouble of manual checking.
- Want to use the latest version of
These commands will automatically maintain project dependency consistency without worrying about version conflicts. Next, let's run a Python file to try it out.
IV. Running Python Files: One-Click Launch
Suppose you wrote a simple test.py in the project, with the content to print "Hello, AI!":
print("Hello, AI!")Directly enter:
uv run python test.py"Hello, AI!" will appear on the screen. uv will automatically run it using the Python 3.10 environment in the project, saving you the hassle of activating the environment. If the file has dependencies (such as using numpy), uv will also ensure they are all in place.
V. Cloning a Project from GitHub and Running It: Using pyvideotrans as an Example
Now, let's try downloading a real project from GitHub, such as pyvideotrans (a video translation tool, address: https://github.com/jianchang512/pyvideotrans.git), and then configure and run it using uv.
- Clone the Repository:
- First, install Git (download from
https://git-scm.com/downloads/win, and click "Next" all the way during installation). You need to reopen the PowerShell or cmd terminal after installation. - Enter in PowerShell or cmd terminal:
git clone https://github.com/jianchang512/pyvideotrans.git
- First, install Git (download from

- This will download the project to the
pyvideotransdirectory under the current folder.
- Enter the Project Directory:
- Enter
cd pyvideotrans.
- Enter
- Initialize and Specify Python 3.10 with uv:
- Enter:
uv init --python 3.10 - uv will check for Python 3.10 (download it if it doesn't exist) and create a virtual environment for the project.
- Enter:
- Install Dependencies:
- The project comes with a
requirements.txtfile, listing the required modules. Enter:uv pip sync requirements.txt
- The project comes with a

- uv will install all dependencies according to this file, such as
torch,requests, etc.torchis larger and may take longer.
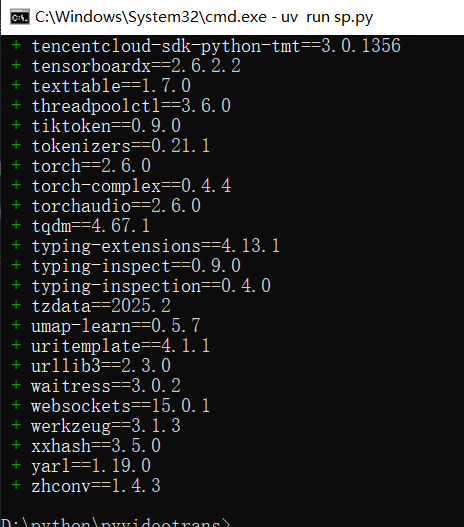
- Run sp.py:
- Enter:
uv run sp.py - If everything goes well, the project will start! You can try translating videos according to its instructions.
- Enter:
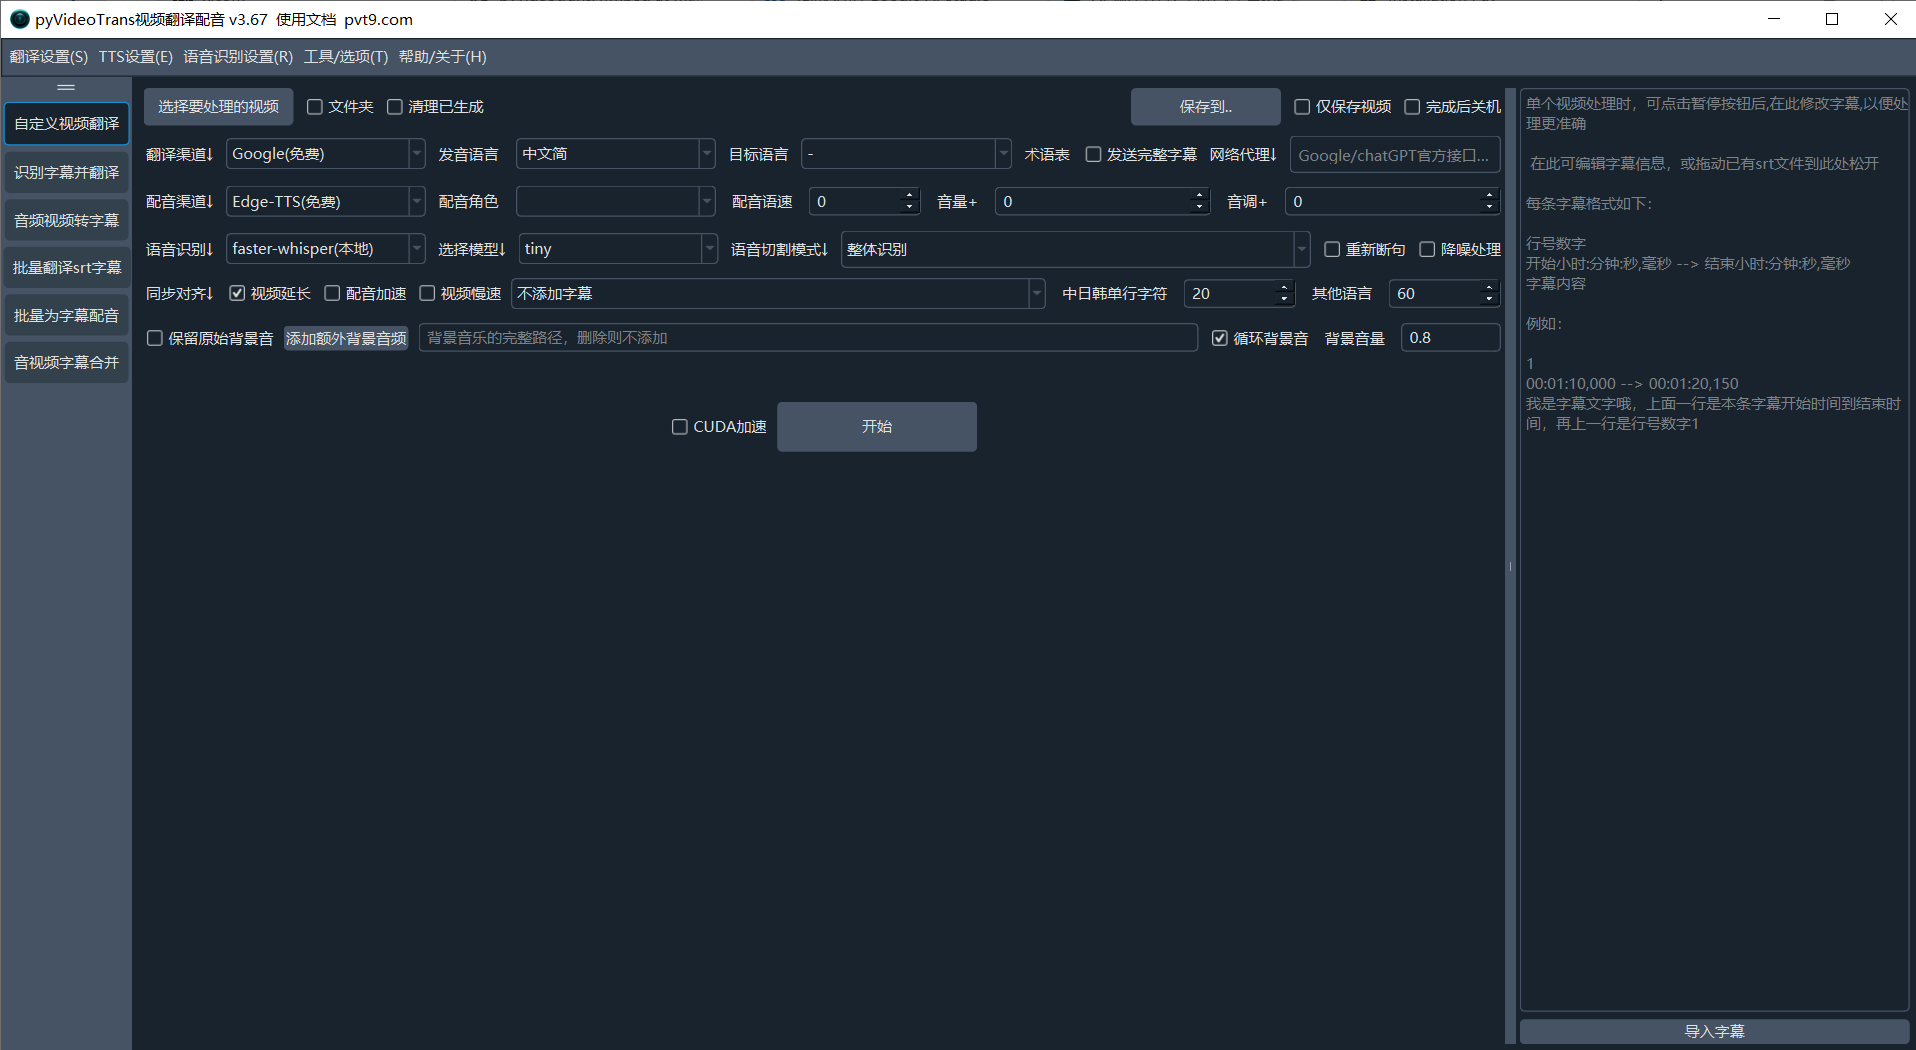
Isn't the whole process very simple? uv hides the complex dependency management behind the scenes, and you only need a few commands to get it done.
VI. uv's Major Features and Common Commands: A Summary
uv is an all-arounder, especially suitable for people like you who like to play with GitHub projects. What's so great about it?
- Ultra-Fast Installation: 10-100 times faster than traditional tools (such as pip).
- Environment Management: Automatically creates virtual environments, no need to activate manually, specify which Python version you want to use.
- Dependency Management: Supports
pyproject.tomlandrequirements.txt, adding, removing, and updating modules is done with one click. - One-Click Execution: Use
uv runto directly run scripts, without worrying about environment configuration.
Quick reference for common commands:
uv --version: Check uv version.uv init ProjectName --python 3.10: Create a new project and specify the Python version.uv add ModuleName: Add a module.uv remove ModuleName: Remove a module.uv pip sync requirements.txt: Install modules from the dependency file.uv run FileName: Run a Python file.