CosyVoice Open Source Address: https://github.com/FunAudioLLM/CosyVoice
Supports Chinese, English, Japanese, Korean, and Cantonese, with corresponding language codes
zh|en|jp|ko|yue
Using in Video Translation Software

- First, update the pyVideoTrans software to the latest version.
- Ensure the CosyVoice2 project is deployed and webui.py is started; you can open the interface in your browser at
http://127.0.0.1:8000. - Open the video translation software, go to Settings in the top-left corner, and under CosyVoice, enter the webui.py address (default is
http://127.0.0.1:8000). - Fill in the reference audio and corresponding text.
Reference Audio Input:

Each line is split by the # symbol into two parts: the first part is the WAV audio file path, and the second part is the corresponding text content. Multiple lines can be added.

The WAV audio duration must be less than 10 seconds, and the audio files must be placed in the `f5-tts` directory of the pyVideoTrans project. Only the file name needs to be entered here.
The audio must be in WAV format.

Example of Reference Audio Input:

1.wav#Hello dear friend
2.wav#Hello friends- After filling in, select CosyVoice as the dubbing channel on the main interface and choose the corresponding role. The "clone" role replicates the voice tone from the original video.
For other systems, deploy CosyVoice first. The specific deployment method is as follows.
Deploying the Official CosyVoice Project from Source Code
Deployment uses conda, which is highly recommended. Otherwise, installation may fail with many issues, as some dependencies cannot be installed via pip on Windows, such as
pynini.
1. Download and install Miniconda
Miniconda is a conda management software that is easy to install on Windows, similar to regular software—just follow the prompts.
Download address: https://docs.anaconda.com/miniconda/

After downloading, double-click the exe file.


Only one point to note: in the interface below, check the top two checkboxes. Otherwise, subsequent operations may be troublesome. The second checkbox means "Add conda to the system PATH environment variable." If unchecked, you won't be able to use the conda command directly.

Then click "Install" and wait for completion before closing.
2. Download CosyVoice Source Code
First, create an empty directory, e.g., create a folder D:/py, and use this as the example path.
Open the CosyVoice open source address: https://github.com/FunAudioLLM/CosyVoice

After downloading, extract the files and copy all contents from the CosyVoice-main directory to D:/py.


3. Create and Activate a Virtual Environment
Navigate to the D:/py folder, type cmd in the address bar, and press Enter to open a command prompt window.

In this window, enter the command conda create -n cosyvoice python=3.10 and press Enter to create a virtual environment named "cosyvoice" with Python version 3.10.

Then enter the command conda activate cosyvoice and press Enter to activate the virtual environment. Only after activation can you proceed with installation and startup; otherwise, errors will occur.

The activation is indicated by "(cosyvoice)" at the beginning of the command line.

4. Install the pynini Module
This module can only be installed using conda on Windows, which is why conda is recommended for Windows.
Continue in the activated command prompt window and enter the command: conda install -y -c conda-forge pynini==2.1.5 and press Enter.

Note: During installation, a confirmation prompt will appear. Enter y and press Enter, as shown below.

After successful execution, enter the command pip install WeTextProcessing==1.0.3 and press Enter.
5. Install Other Dependencies Using Alibaba Mirror
Open the
requirements.txtfile and delete the last lineWeTextProcessing==1.0.3. Otherwise, installation will fail because this module depends onpynini, which cannot be installed via pip on Windows.Then add three lines to requirements.txt:
Matcha-TTS,flask, andwaitress.

Continue by entering the command:
pip install -r requirements.txt -i https://mirrors.aliyun.com/pypi/simple/ --trusted-host=mirrors.aliyun.com
and press Enter. After a long wait, if there are no issues, the installation will succeed.
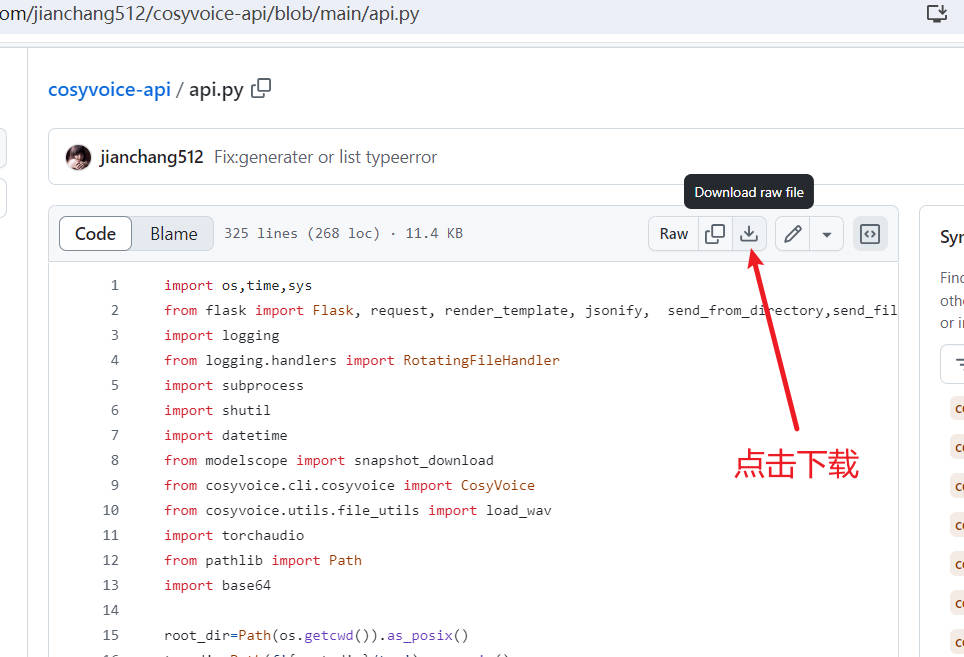
6. Download the api.py File and Place It in the Project
Go to this address: https://github.com/jianchang512/cosyvoice-api/blob/main/api.py to download the api.py file. After downloading, place it in the same directory as webui.py.

Start the API Service
API interface address:
http://127.0.0.1:9233
Enter the command and press Enter: python api.py

API Interface List
Synthesize Text Using Built-in Roles
Interface Address: /tts
Synthesizes speech from text only, without voice cloning.
Required Parameters:
text: Text to be synthesized into speech.
role: Choose one from 'Chinese Female', 'Chinese Male', 'Japanese Male', 'Cantonese Female', 'English Female', 'English Male', 'Korean Female'.
Success Returns: WAV audio data.
Example Code:
data={
    "text":"Hello dear friends",
    "reference_audio":"10.wav"
}

response=requests.post(f'http://127.0.0.1:9933/tts',data=data,timeout=3600)Voice Cloning with Same Language
- Address: /clone_eq
The reference audio language matches the text language to be synthesized, e.g., reference audio is in Chinese, and Chinese text is synthesized based on it.
- Required Parameters:
text: Text to be synthesized into speech.
reference_audio: Reference audio for voice cloning.
reference_text: Text content corresponding to the reference audio. Path relative to api.py, e.g., if referencing 1.wav in the same folder as api.py, enter 1.wav.
Success Returns: WAV data.
Example Code:
data={
    "text":"Hello dear friends.",
    "reference_audio":"10.wav",
    "reference_text":"I hope you are doing better than me."
}

response=requests.post(f'http://127.0.0.1:9933/tts',data=data,timeout=3600)Voice Cloning with Different Languages
- Address: /clone
The reference audio language differs from the text language to be synthesized, e.g., using Chinese reference audio to synthesize English text.
- Required Parameters:
text: Text to be synthesized into speech.
reference_audio: Reference audio for voice cloning. Path relative to api.py, e.g., if referencing 1.wav in the same folder as api.py, enter 1.wav.
Success Returns: WAV data.
Example Code:
data={
    "text":"Receiving a birthday gift from a dear friend from afar, with unexpected surprises and deep blessings, my heart is filled with sweet joy!",
    "reference_audio":"10.wav"
}

response=requests.post(f'http://127.0.0.1:9933/tts',data=data,timeout=3600)Compatible with OpenAI TTS
- Interface Address: /v1/audio/speech
- Request Method: POST
- Content-Type: application/json
- Request Parameters:
input: Text to be synthesized.model: Fixed as tts-1, compatible with OpenAI parameters (not actually used).speed: Speech speed, default 1.0.response_format: Return format, fixed as WAV audio data.voice: Only for text synthesis, choose one from 'Chinese Female', 'Chinese Male', 'Japanese Male', 'Cantonese Female', 'English Female', 'English Male', 'Korean Female'.
For cloning, enter the reference audio path relative to api.py, e.g., if referencing 1.wav in the same folder as api.py, enter
1.wav.
- Example Code:
from openai import OpenAI

client = OpenAI(api_key='12314', base_url='http://127.0.0.1:9933/v1')
with  client.audio.speech.with_streaming_response.create(
                    model='tts-1',
                    voice='Chinese Female',
                    input='Hello dear friends',
                    speed=1.0
                ) as response:
    with open('./test.wav', 'wb') as f:
       for chunk in response.iter_bytes():
            f.write(chunk)