Spark-TTS is a highly anticipated open-source voice cloning project recently developed by a consortium of universities, including the Hong Kong University of Science and Technology, Northwestern Polytechnical University, and Shanghai Jiao Tong University. Local testing indicates that its performance rivals F5-TTS.
Spark-TTS supports both Chinese and English voice cloning, and the installation and deployment process is straightforward. This article will detail how to install and deploy Spark-TTS and modify it to be compatible with the F5-TTS API interface, enabling direct use within the F5-TTS voice-over channel of the pyVideoTrans software.
Prerequisites: Ensure you have Python 3.10, 3.11, or 3.12 installed.
1. Download Spark-TTS Source Code
First, create a folder composed of English letters or numbers on a non-system drive, such as D:/spark. The reason for using English letters/numbers and a non-system drive is to minimize potential errors related to Chinese characters, permissions, etc.
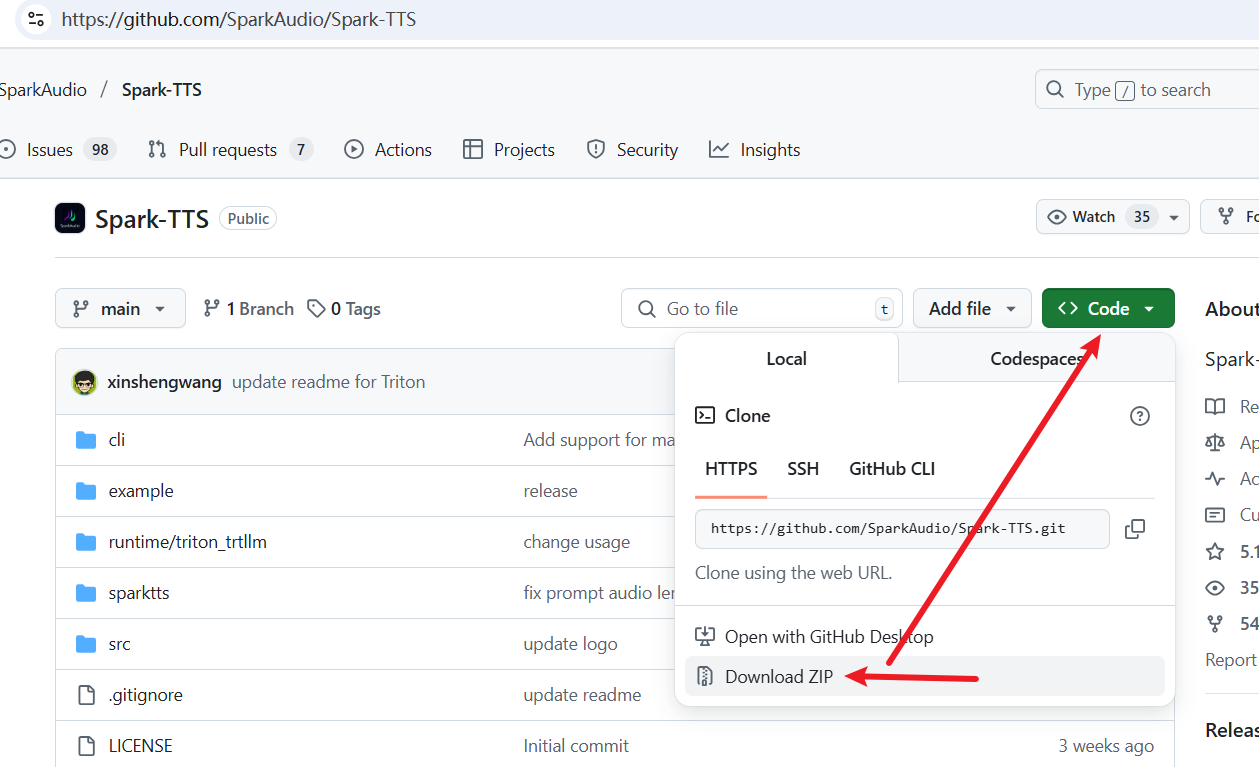
Then, visit the official Spark-TTS code repository: https://github.com/SparkAudio/Spark-TTS
As shown below, click to download the source code as a ZIP package:
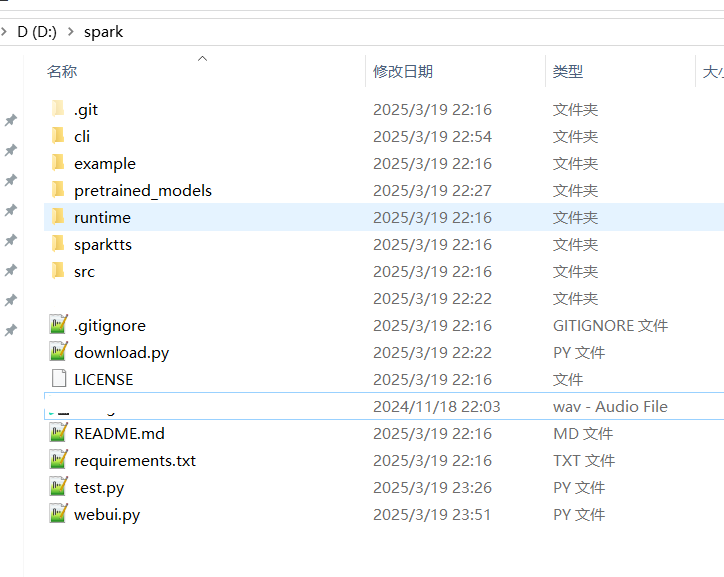
After downloading, extract the ZIP file and copy all files and folders to the D:/spark folder. The resulting directory structure should resemble the following:
2. Create a Virtual Environment and Install Dependencies
- Create a Virtual Environment
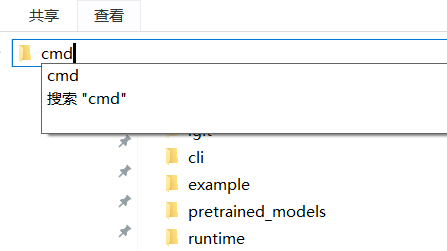
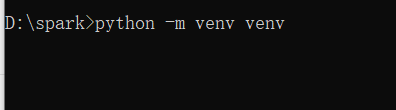
Enter cmd in the address bar of the folder and press Enter. In the black terminal window that appears, execute the following command:
python -m venv venvAs shown:
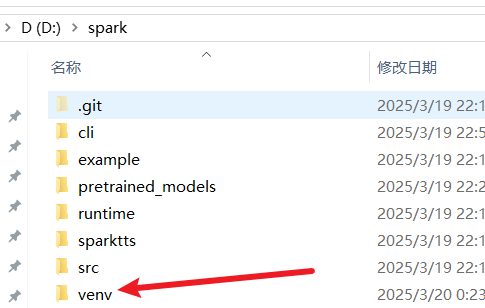
After execution, a venv folder will be added to the D:/spark directory:
Note: If you receive the error
python is not recognized as an internal or external commandduring execution, it means that Python is not installed or has not been added to the system environment variables. Please refer to relevant articles to install Python.
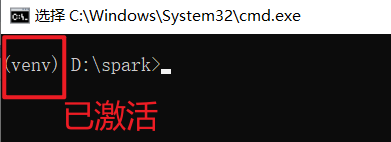
Next, execute venv\scripts\activate to activate the virtual environment. After activation, (venv) will appear at the beginning of the terminal line, indicating successful activation. All subsequent commands must be executed in this environment. Please check if it is activated before each execution.
- Install Dependencies
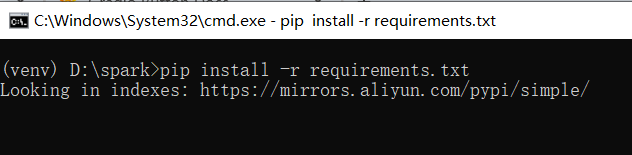
In the activated virtual environment, continue executing the following command in the terminal to install all dependencies:
pip install -r requirements.txtThe installation process may take a long time. Please be patient.
3. Download Models
Models required for open-source AI projects are usually hosted on Hugging Face (huggingface.co). Since this website is blocked in some regions, you will need a VPN to download the models. Ensure you have configured your VPN environment and set up a system proxy.
Create a text file named down.txt in the current directory D:/spark, copy and paste the following code into the file, and save it:
from huggingface_hub import snapshot_download
snapshot_download("SparkAudio/Spark-TTS-0.5B", local_dir="pretrained_models/Spark-TTS-0.5B")
print('下载完成')Then, execute the following command in the terminal window with the virtual environment activated:
python down.txtRemember to check if (venv) exists before the command line:

Wait for the terminal to indicate that the download is complete.
If the output is similar to the following information, it indicates a network connection error, possibly due to incorrect VPN configuration:
Returning existing local_dir `pretrained_models\Spark-TTS-0.5B` as remote repo cannot be accessed in `snapshot_download` ((MaxRetryError("HTTPSConnectionPool(host='huggingface.co', port=443): Max retries exceeded with url: /api/models/SparkAudio/Spark-TTS-0.5B/revision/main (Caused by ConnectTimeoutError(<urllib3.connection.HTTPSConnection object at 0x000001BC4C8A4430>, 'Connection to huggingface.co timed out. (connect timeout=None)'))"), '(Request ID: aa61d1fb-ffc7-4479-9a99-2258c1bc0aee)')).
4. Start the Web Interface
After the model is downloaded, you can start and open the Web interface.
Execute the following command in the terminal with the virtual environment activated:
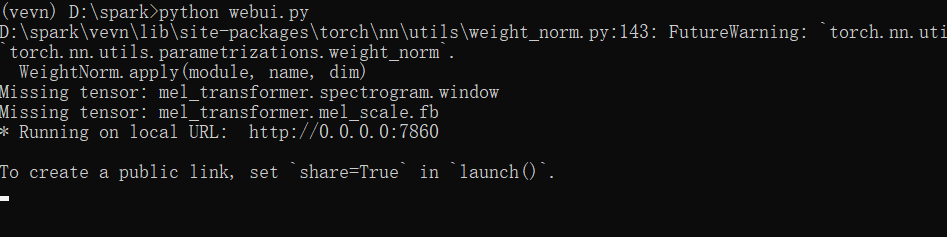
python webui.py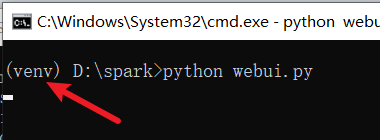
Wait for the following information to appear, indicating successful startup:
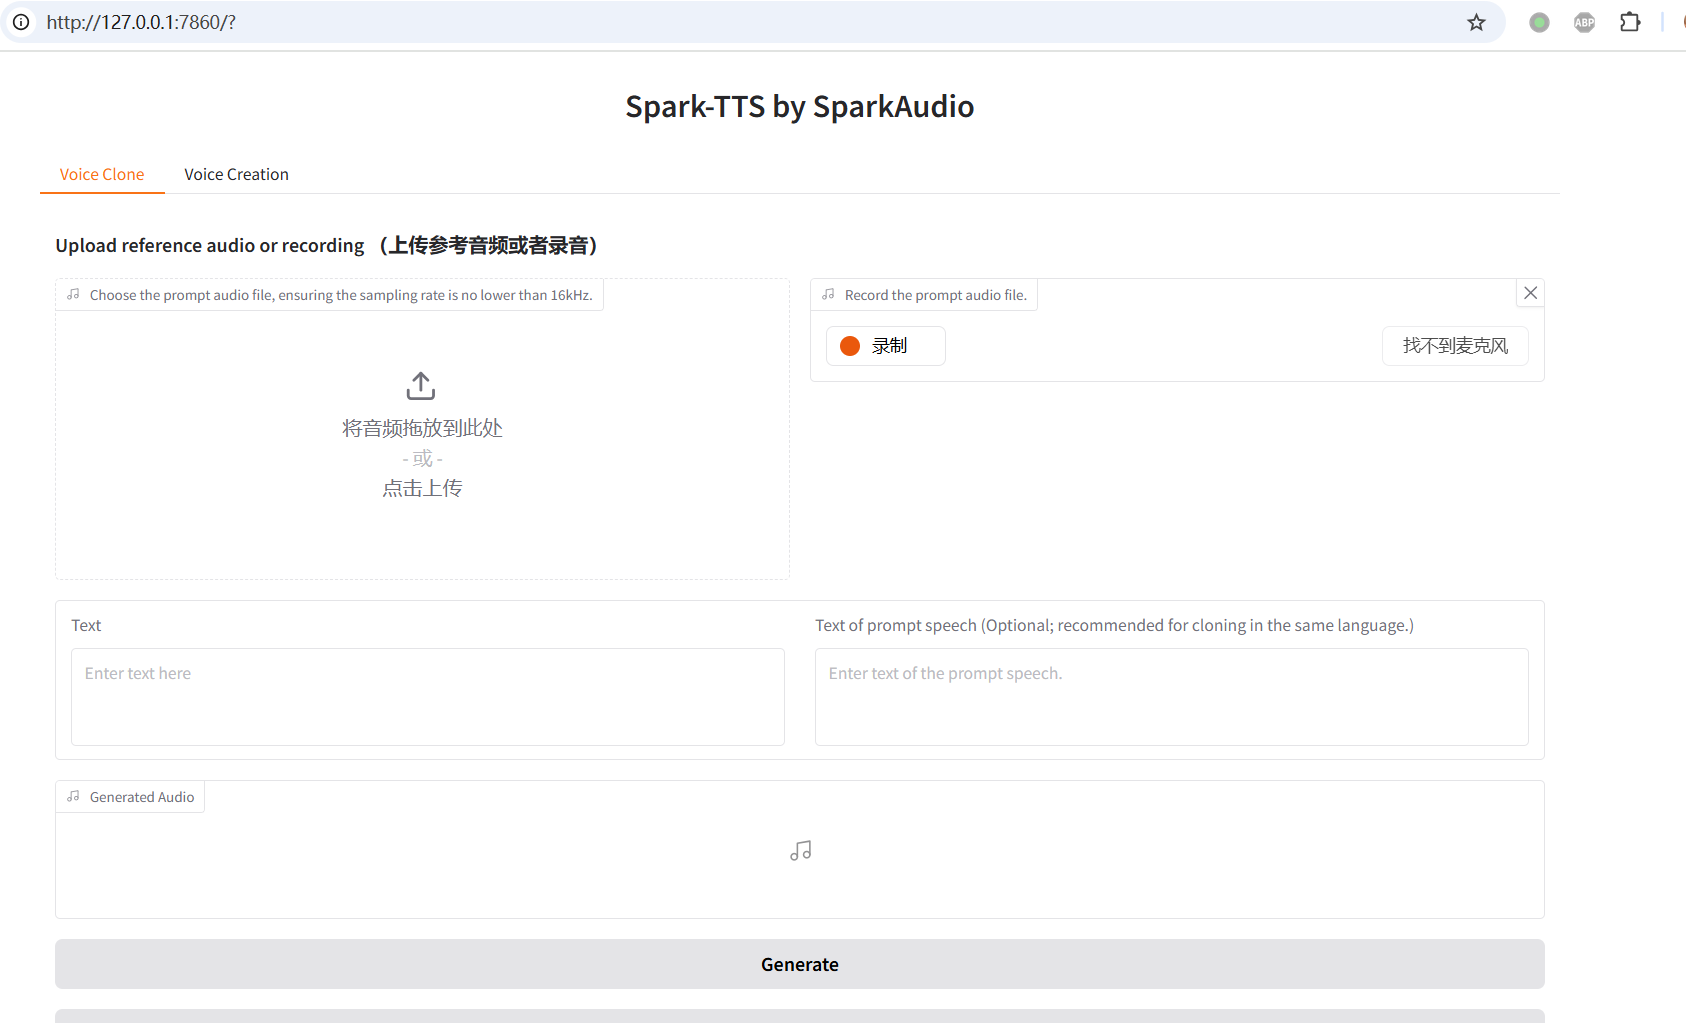
Now, you can open the address http://127.0.0.1:7860 in your browser. The Web interface is shown below:
5. Voice Cloning Test
As shown below, select an audio file of the voice you want to clone (3-10 seconds long, clear pronunciation, clean background).
Then, enter the text content corresponding to the audio in the Text of prompt speech on the right. Enter the text you want to generate on the left, and finally click the Generate button at the bottom to start execution.
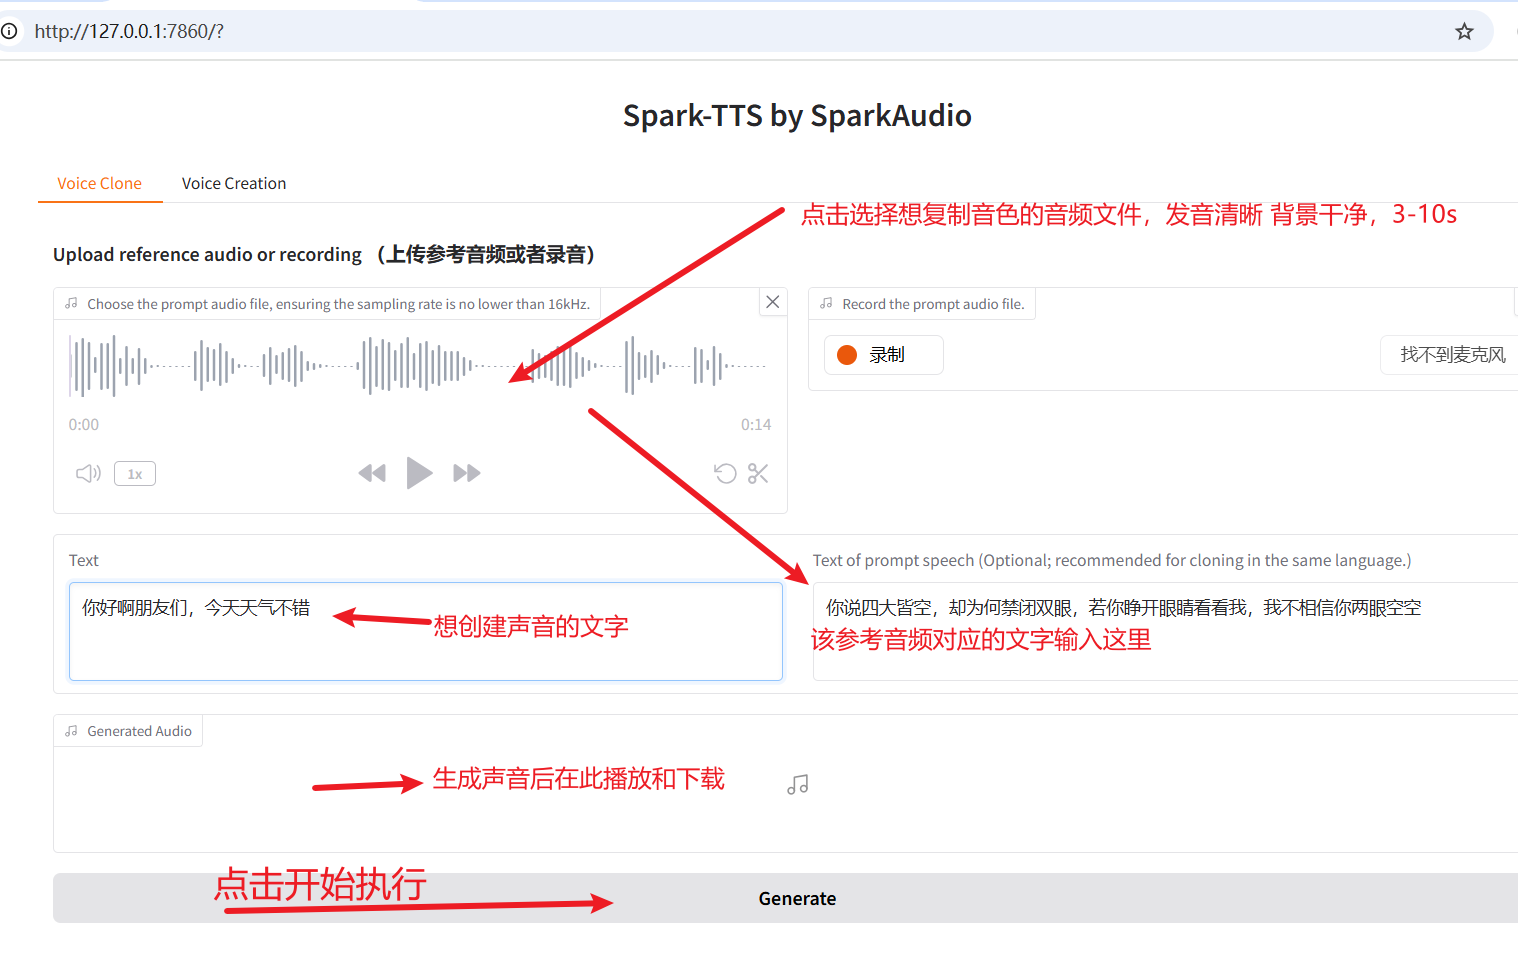
After execution, it will look like the following image.
6. Using in pyVideoTrans Software
Spark-TTS is very similar to F5-TTS. With a simple modification, you can directly use Spark-TTS in the F5-TTS voice-over channel of pyVideoTrans. If you are not comfortable modifying the file, you can directly download the modified version and overwrite the
webui.pyfile. Download address: https://pvt9.com/spark-use-f5-webui.zip
- Open the
webui.pyfile and paste the following code above line 135 (approximately):
    def basic_tts(gen_text_input, ref_text_input, ref_audio_input,remove_silence=None,speed_slider=None):
        """
        Gradio callback to clone voice using text and optional prompt speech.
        - text: The input text to be synthesised.
        - prompt_text: Additional textual info for the prompt (optional).
        - prompt_wav_upload/prompt_wav_record: Audio files used as reference.
        """
        prompt_speech = ref_audio_input
        prompt_text_clean = None if len(ref_text_input) < 2 else ref_text_input

        audio_output_path = run_tts(
            gen_text_input,
            model,
            prompt_text=prompt_text_clean,
            prompt_speech=prompt_speech
        )
        return audio_output_path,prompt_text_clean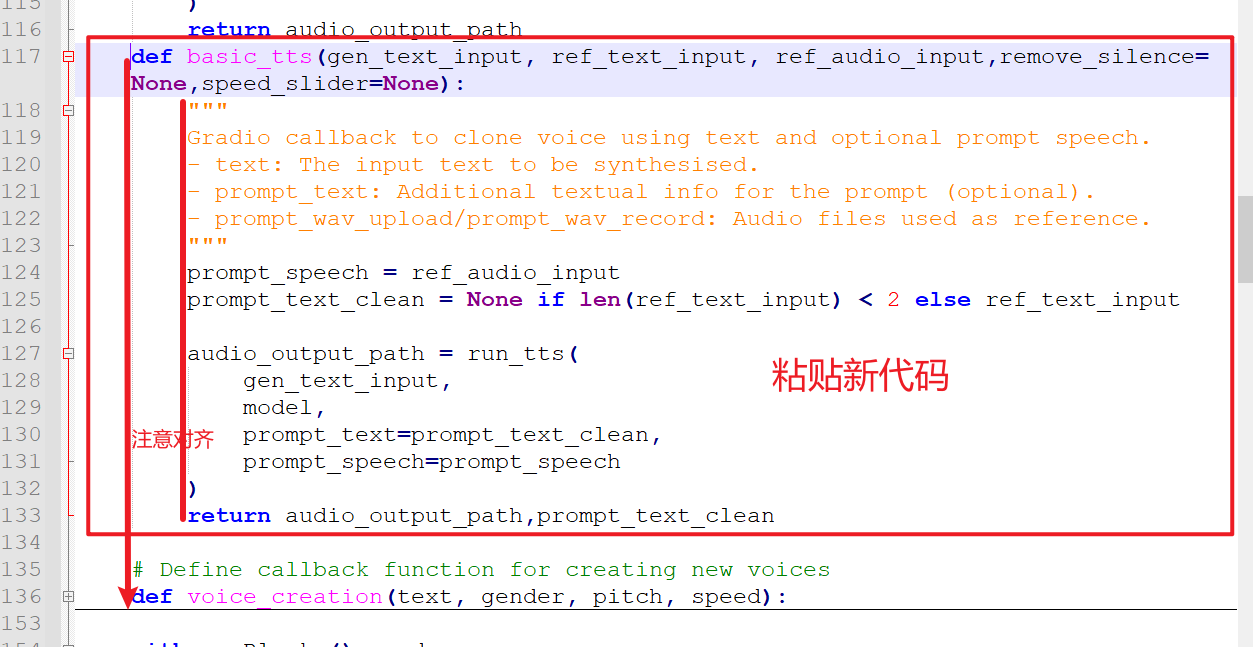
Important Note: Python code uses spaces for indentation and alignment. Otherwise, the code will throw an error. To avoid errors, it is recommended not to open the webui.py file with Notepad, but to use a professional code editor, such as Notepad++ or VSCode (free tools).
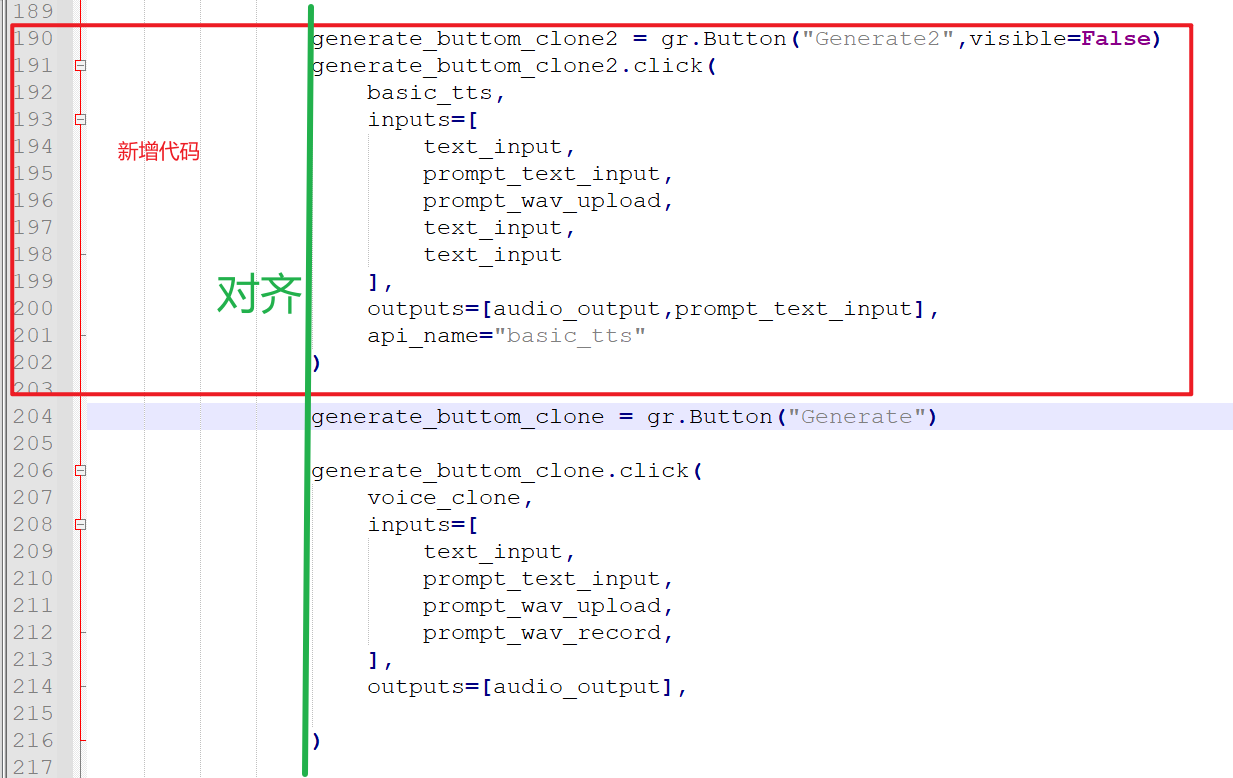
- Then, find the
generate_buttom_clone = gr.Button("Generate")code around line 190. Paste the following code above it, and also pay attention to alignment:
generate_buttom_clone2 = gr.Button("Generate2",visible=False)
generate_buttom_clone2.click(
       basic_tts,
       inputs=[
          text_input,
          prompt_text_input,
          prompt_wav_upload,
          text_input,
          text_input
       ],
       outputs=[audio_output,prompt_text_input],
       api_name="basic_tts"
 )
- After saving the file, restart
webui.py:
python webui.py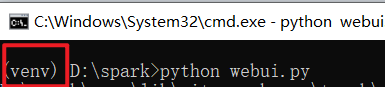
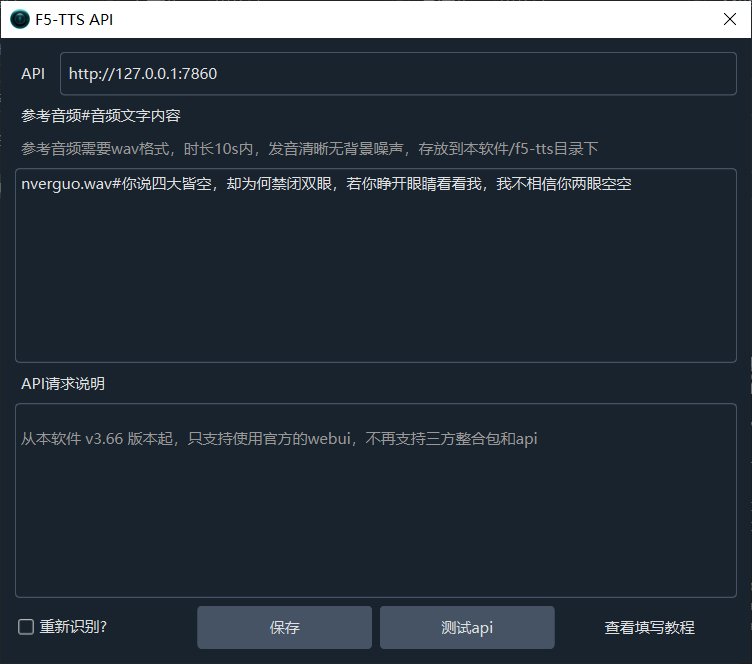
- Enter the address
http://127.0.0.1:7860into the "Menu" -> "TTS Settings" -> "F5-TTS" API address in the pyVideoTrans software and you can start using it. The location and method of filling in the reference audio are the same as the F5-TTS usage method.